Wholesale E-Commerce Discovery Platform | FAQ |
Seller Registration
Step By Step Guide
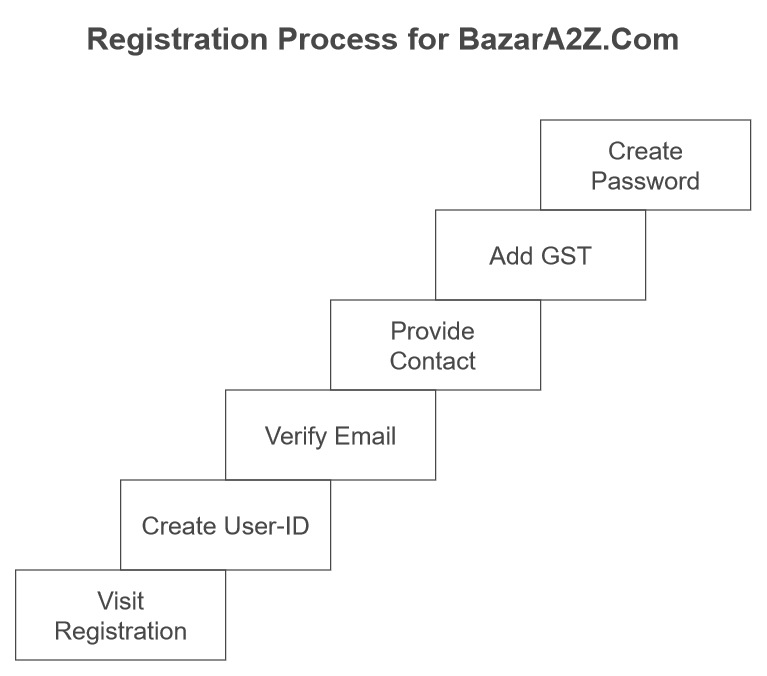
Welcome to BazarA2Z.com! Follow these simple 6 steps to get your seller account registered and set up your online store.

Step 1: Visit the Registration Page
To begin, go to the seller registration page by visiting Vendor Registration page. This is where you start your registration process.
Step 2: Create Your User-ID
You will need to create a unique user ID.
- Ensure it is alphanumeric and no longer than 6 characters.
- Use only letters and numbers (e.g., abcd123).
- Special characters like commas or full stops are not allowed
Step 3: Verify Your Email
- Enter your email address and click on the “Verification Code” button.
- A One-Time Password (OTP) will be sent to your email.
- Check your inbox, copy the OTP, and paste it in the “Verification Code” column to verify your email.
Step 4: Provide Your Contact Details
To set up your e-commerce store, share the following information:
- Store name
- Contact person
- Company name
- Business address
- Telephone number etc.
These contact details will be displayed on your store page so that potential buyers can easily reach out to you.
Step 5: Add Your GST Number and Vanik User-ID
- Provide your GST number for tax compliance.
- Enter your Vanik.com User-ID to link your store with Vanik for targeted promotions.
- Note: If you are not yet a Vanik member, you can join for free at Vanik Registration.
Step 6: Create Your Password
Set up a strong password for your account and confirm it. Make sure it’s something secure and memorable.
Final Step: Complete Registration
Once you’ve filled out all the necessary information, click on the “Register” button to complete the process. Congratulations, you’ve successfully registered your seller account at BazarA2Z ! <br><br>
You can now start setting up your store and explore BazarA2Z’s features designed to connect you with B2B buyers across India!
